
Pros
- Good price compared to the competition and DIY PiKVM variants
- Solid metal build with attention to detail
- Good thermal management thanks to the metal case
- Good to very good image quality with proper settings; generally responsive without annoying delay
- Many options for customizing the remote connection
Cons
- Unpolished software at launch without all promised capabilities (fixed via firmware update)
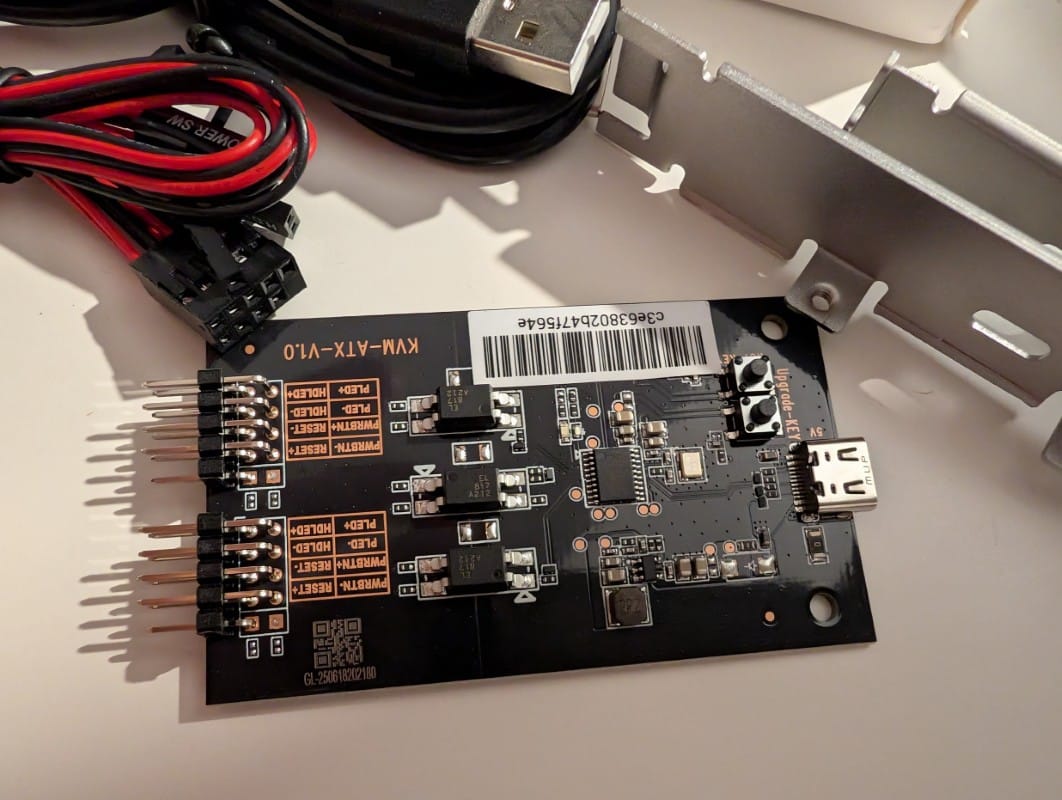
- ATX board: the connection pins could be offered in a single plug ready to connect to the motherboard instead of individual jumpers
- Accessories should be included in the standard package. Without one of the accessories it feels too similar to a classic Remote Desktop connection
- Should offer more transparency regarding encryption of the remote connection over the internet
Introduction
A KVM switch (keyboard, video, mouse) is a device that lets you connect multiple computers to a single monitor, keyboard, and mouse, and switch between them. It used to be quite popular in the past; today it’s not as widespread because many monitors and peripherals now support connections from multiple PCs.
However, the concept has evolved and today we have remote KVMs or Internet KVMs that allow you to connect to and control a PC or notebook remotely. We’ll be talking about such a device in the following lines.
“Well, I can control a PC remotely using Remote Desktop,” some might say. That’s true, but you can’t control it if it’s turned off or if you need to change BIOS settings remotely. This is where a Remote KVM over the Internet has the advantage over a basic remote connection.
For those familiar with the concept, such a device gives you an out-of-band connection, as it’s called in the technical literature, meaning a system for remotely controlling a PC/Server/Notebook similar to what enterprise solution providers usually offer, like HP with iLO or Dell with iDrac.
GL.iNet is a company founded in 2010, specialized in routers and networking solutions based on OpenWrt, focused on security and flexibility. It positions itself as an affordable provider of advanced technologies, targeting both individual users and companies, with products that include portable routers, IoT equipment, and enterprise solutions with integrated VPN support.
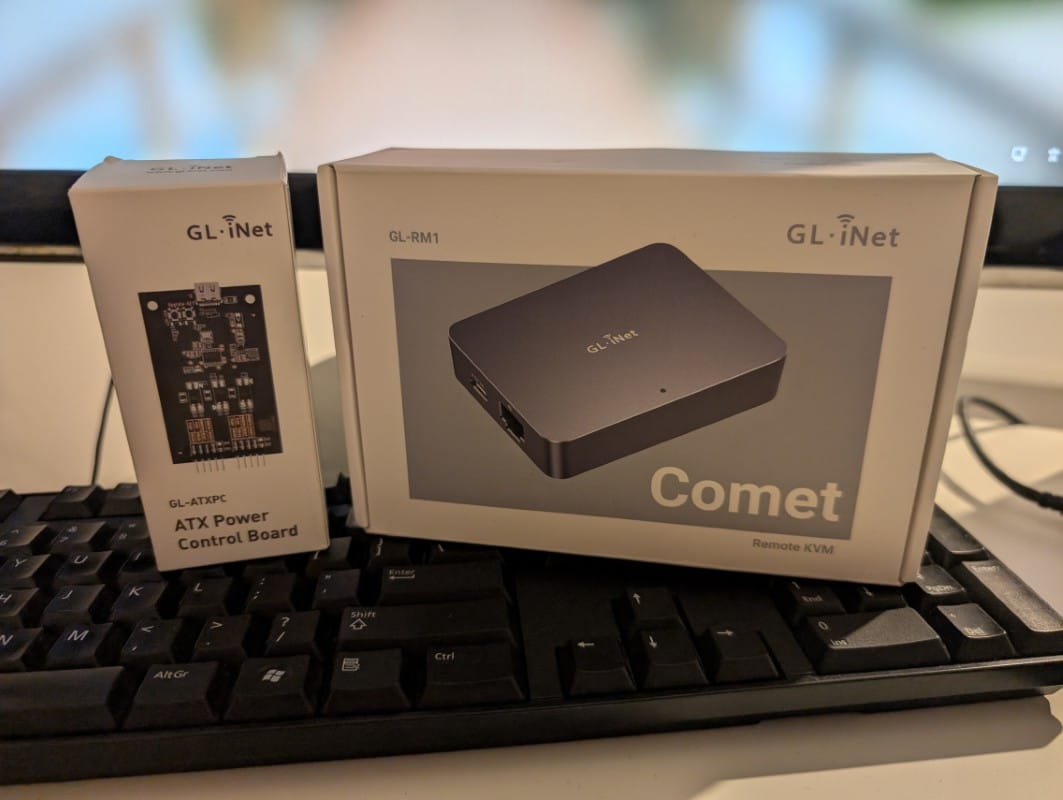
And from this company I tested the product Comet (GL-RM1), which, as I explained in the introduction, is a Remote KVM over the Internet.
GL.iNet Comet (GL-RM1) specifications
| Caracteristică | Valoare |
|---|---|
| CPU | Quad-core ARM Cortex-A7 |
| Memory / Storage | 1 GB RAM DDR3 / 8 GB eMMC |
| Ethernet | 10/100/1000 Mbps |
| Power | ~ 3 W |
| Ports | 1 port Ethernet Gigabit; USB2.0 Type-A; USB2.0 Type-C; port Power Type-C (5V/2A) |
| Buttons | Reset (long press ≥8 s) |
| LED | LED dual-color for power and status |
| Case | Metal |
| OS | Linux |
| Main functions | Remote KVM, remote keyboard, clipboard, hotkeys, file transfer |
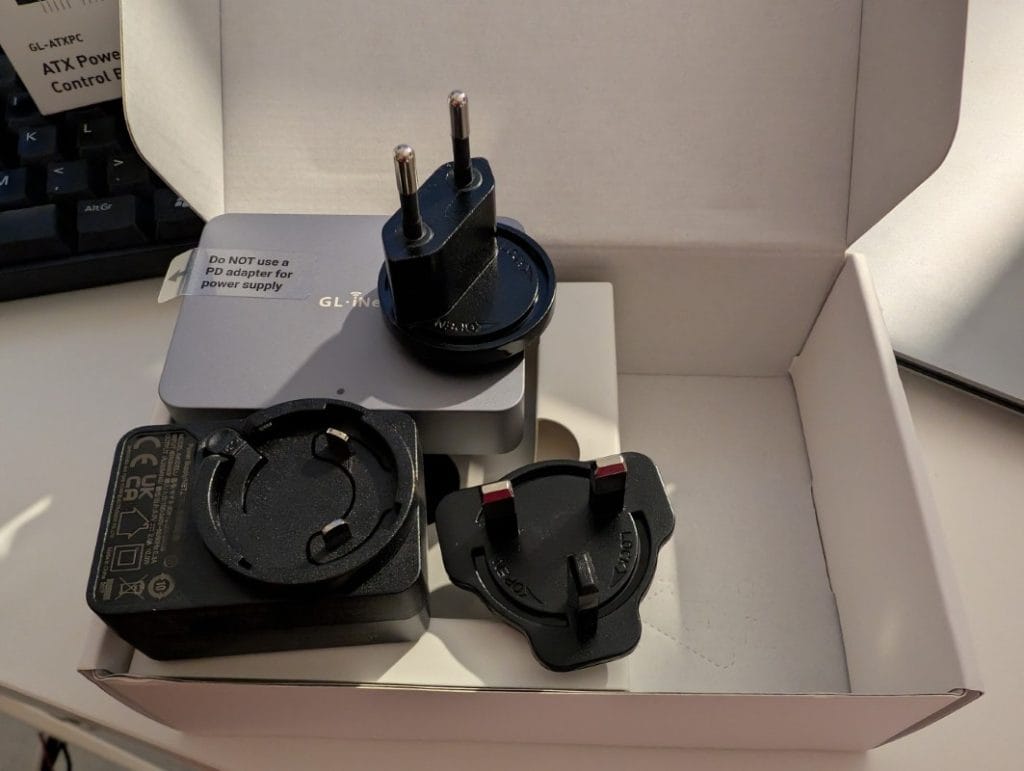
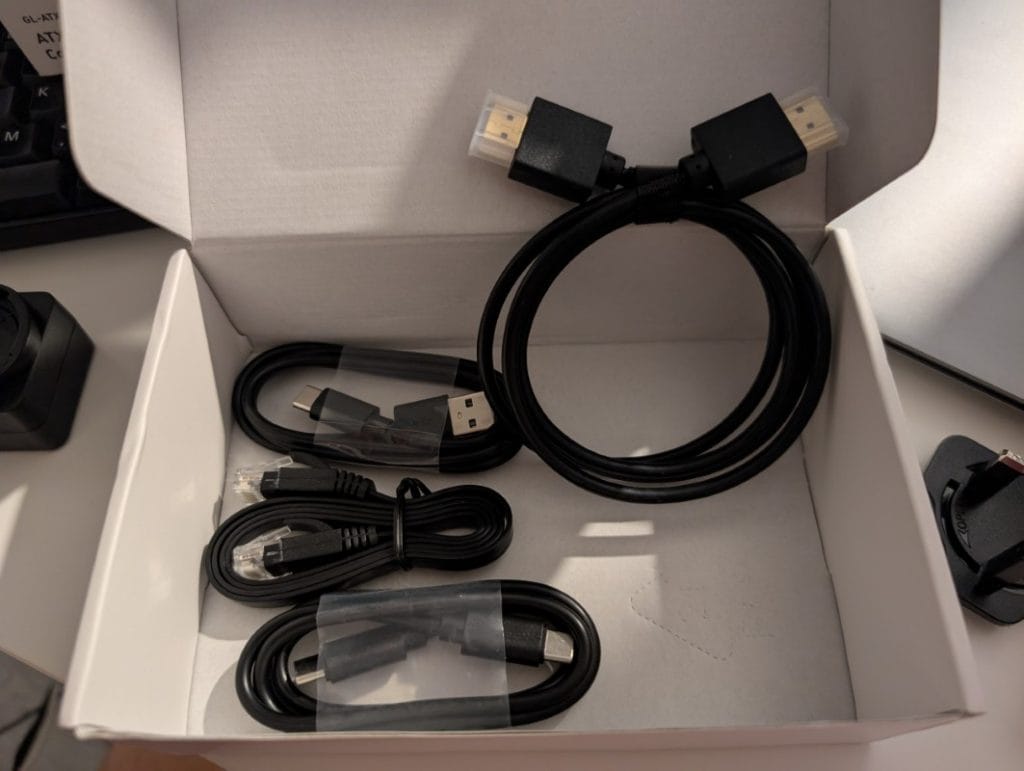
What’s in the GL.iNet Comet package
- 1 × Comet (GL-RM1)
- 1 × Ethernet cable
- 1 × USB Type-A → Type-C cable
- 1 × USB Type-C → Type-C cable
- 1 × HD HDMI cable
- 1 × Warranty card
- 1 × User manual
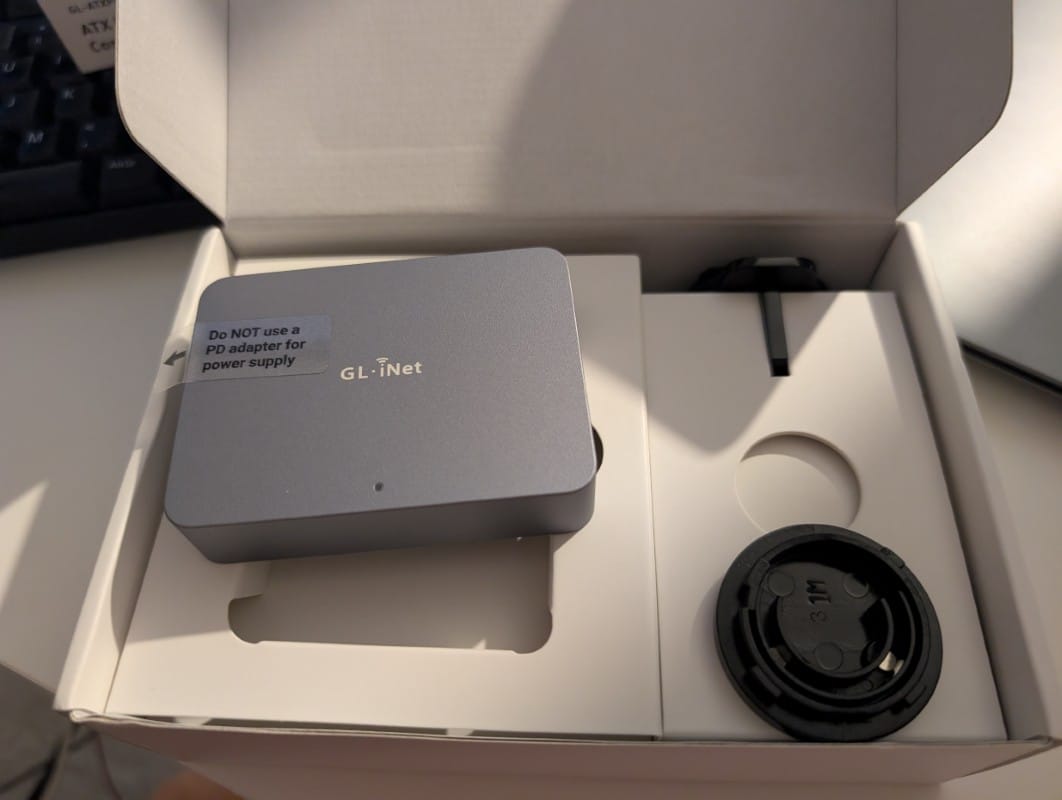
Design and materials – solid metal construction
The remote KVM from GL.iNet, Comet GL-RM1, comes in a metal case that gives a quality impression. It’s fairly heavy, a sign that the materials used are at least apparently above average. I think the choice of a metal case was also made for cooling reasons, the case acting as a passive heatsink during operation, since there is no active cooling. And for this type of device, the normal expectation is that it will run continuously to fulfill its role. Cooling which, in my opinion, is kept well under control – in my case, after a few days of continuous operation, the device was only slightly warm to the touch. About the same as an older-generation Raspberry Pi with passive cooling.
In terms of size it’s small and compact, somewhere around 80% of the size of a Raspberry Pi board, since I already made that comparison above. The metallic gray finish of the case allows you to use it either visibly on a work desk or installed somewhat out of sight – but that depends on the usage scenario.
The package includes almost all the cables needed for connection. Why “almost”? Because, depending on the combination of available accessories and the type of device you have – notebook, desktop, etc. – you might need to swap one of the USB cables it comes with, as was my case.
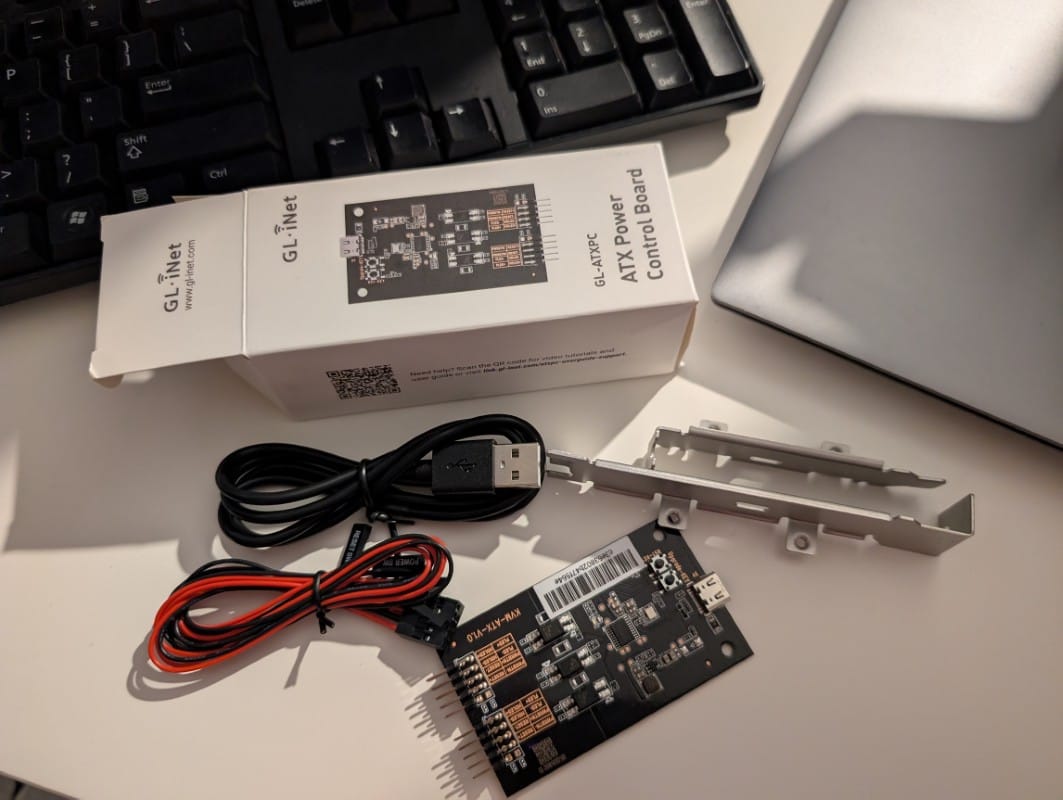
Available accessories: Fingerbot and ATX board
In addition to the actual remote KVM, the company also offers, for an extra cost, two accessories that can extend the device’s capabilities:
- Fingerbot – a mini mechanized arm that can press the power button of the PC or notebook.
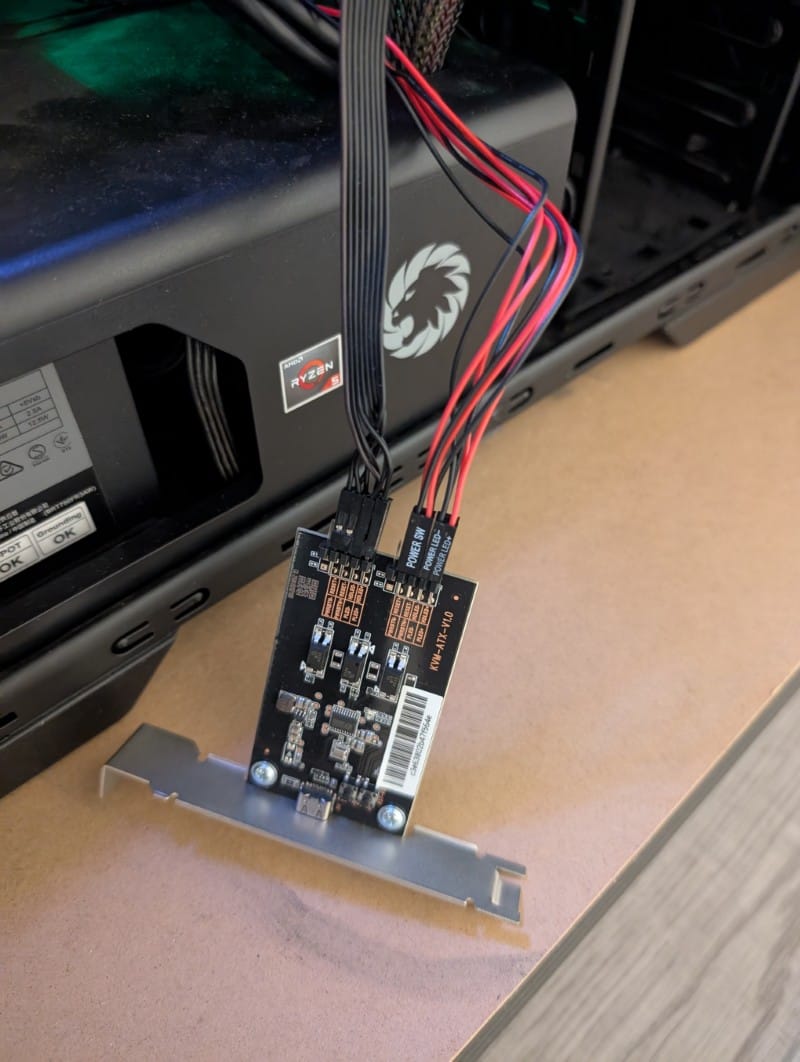
- ATX board – provides the interface between the Comet remote KVM and the power control pins on the PC motherboard.
This ATX board is also the one I tested together with the Comet, and in my view it’s clearly superior to the robotic arm for desktops, because it also offers remote access to the computer’s reset function. Of course, this ATX board requires some basic knowledge to install, compared to the robotic arm.
Software and features – how the Remote KVM works
Let’s briefly and simply explain what this remote KVM does. It connects via HDMI to the PC’s video output and performs transcoding on the captured image, which it then sends remotely over the internet to wherever we’re connected from. Interaction with the remote PC is done by simulating a USB HID that behaves like a virtual keyboard and mouse.
According to the specifications, the Comet GL-RM1 promises to offer remote resolutions of up to 3840×2160@30FPS, with low latency, file transfer, clipboard sync, hotkeys, adaptive resolution, and remote control of power options.
The operating system, in the manufacturer’s specs, is only mentioned as Linux, but after a bit of searching online we can find that it’s actually a fork of the open-source version dedicated to this type of device, called PiKVM.
The remote KVM can work in two modes: either the connection is relayed through GL.iNet’s servers, or, if you don’t want the transmission to go through those servers, you can use the self-hosted, open-source cloud infrastructure version from GitHub and install it on your own infrastructure.
In my case, I tested it through GL.iNet’s servers. For that we need to create an account. This account can be created either on the glkvm.com portal or in their dedicated app available for download at https://www.gl-inet.com/app-rm/.
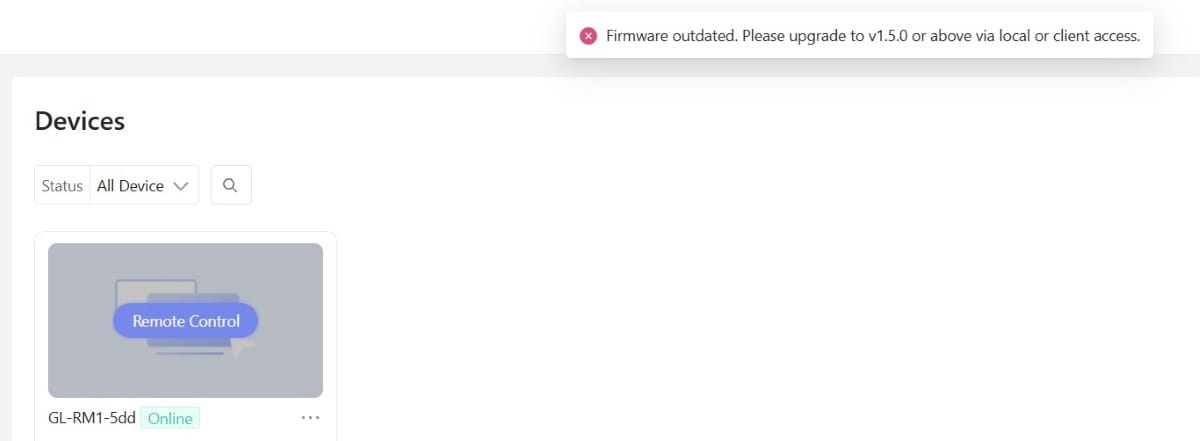
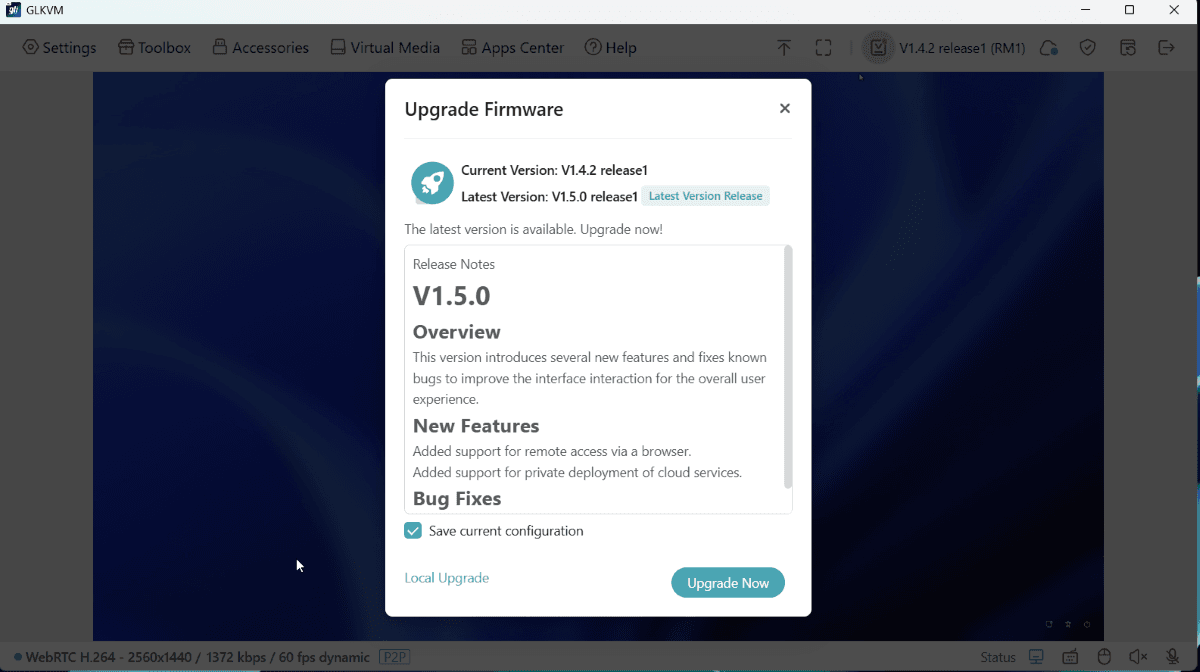
My advice is to start with the downloaded app first, and here’s why. Operation via the web portal is only possible from firmware 1.5 upwards, but the shipped hardware, as was my case, comes with older firmware versions. I needed 2 firmware upgrades. Version 1.5 was in beta when I tested it; in the meantime it seems to have become stable. This is somewhat of a negative point: the product was launched with software that didn’t yet include all the promised capabilities.
So, if you don’t start with the app and your factory firmware is below 1.5, your remote session via the web portal won’t work, only via the dedicated app.
With the account created, the next step is to associate the device with the new account. This is done by entering the SN and a code found on the product label. After associating it, we can already use it and connect remotely to the device it’s attached to.
Functions available in the toolbar
After logging into the dedicated web portal or the dedicated app, which is available for both Windows and macOS, we’ll see a fairly simple interface, where we have a few settings for the created account as well as the associated devices.
From this interface, if we select the associated device, we have the option to connect remotely and access technical details about the device.
Once connected remotely to the target device via the remote KVM, we have access to the connection settings, which are divided into 5 categories:
- Settings – contains all settings related to graphics display and remote options. We can configure the session resolution, image quality level, various options related to remote interaction, whether we want to transmit audio or not, etc.
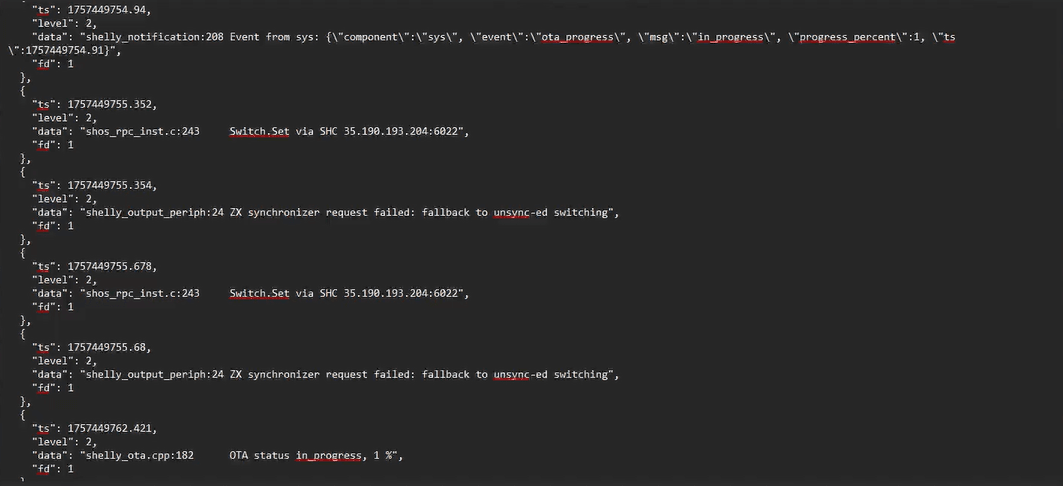
- Toolbox – contains clipboard transmission settings (remote copy-paste), useful keyboard shortcuts, Wake-on-LAN for controlling other devices on your network, and access to the Terminal. As mentioned above, the KVM runs a Linux variant.
- Accessories – power options such as Short Press, Long Press, or Reset – these are enabled via the optional accessory, the ATX board.
- Virtual Media – allows file transfer by simulating a USB stick or loading a virtual ISO image. This way, we can even install an operating system through the device.
- AppsCenter – currently only includes integration with Tailscale. It’s possible that more integrations will appear in the future.
From the settings area we also have access to firmware upgrades for the device when needed, device reboot options, and that’s about it. Minimal, but I’d say it includes everything you need to work with the device remotely.
Another plus of the app is that it supports dark mode, if that’s what you’re used to. It fits well with the general trend of eye-friendly display modes.
Remote session quality and video performance
By default, the device ships with image quality set to “Medium” and a resolution around 2K. This resulted in an image that looked a bit blurry and a fairly noticeable delay when moving the cursor. Not bothersome for short activities like remote maintenance, but it would have been a big minus for longer sessions.
After changing the image quality settings to “Ultra High”, i.e. the maximum, and matching the transmission resolution to the monitor’s native resolution, the connection quality was noticeably better. I’d even say surprisingly good. From my point of view, with those settings applied, you can comfortably do remote office work through this device. The image is much clearer, and the cursor movement delay is only slightly noticeable, without causing issues in your work. Keyboard actions have no perceptible delay.
At the initial medium quality, the remote connection used under 1Mb/s. After switching to Ultra High, the connection went up to around 8Mb/s. That’s not much by today’s standards, but it can have an impact if you’re on a mobile connection.
Security and authentication on GL.iNet Comet
On the security side, although we don’t have exact data or details about the encryption used in the official product documentation, I was able to deduce the following:
- The browser connection is encrypted via HTTPS/TLS.
- The remote video/audio connection is done via WebRTC with DTLS-SRTP encryption, STUN/TURN. This is a deduction based on the use of WebRTC, a standard that doesn’t allow unencrypted connections.
- Optionally, the remote connection can be proxied through a Tailscale integration. Tailscale runs on a WireGuard VPN backend.
Authentication is in line with today’s usual standards, maybe even a bit too much for some, but security doesn’t always go hand in hand with ease of use.
So, in the order below we have the following:
- For the online account you need to create, you have a username with password and 2FA with TOTP. You can choose your preferred TOTP app.
- The next level of authentication is an administrator password directly on the KVM, which is requested when you want to access the device remotely. This password can also be doubled with TOTP.
- The third level of authentication is the account on the operating system of the computer you’re connecting to remotely.
In addition, the Comet remote KVM is directly associated with your account via unique identification data.
Conclusion and price/performance ratio
The GL.iNet Comet GL-RM1 is a solid solution that brings alternatives to a market where there aren’t many options, at least not in this price range. I’d classify the price as good compared to what it offers: 110 euros on the official site for the Comet and ATX board at the regular price. From time to time there are also special deals, as was the case when I wrote this review, when thanks to a promotion the price was reduced to 103 euros for the KVM and ATX board bundle.
When I say the price is good, I’m referring to solutions based on PiKVM, which, if you buy them as a complete product, easily go over 200 euros. Even the DIY PiKVM variant will likely exceed the Comet’s price if you don’t already have a Raspberry Pi plus the necessary accessories, considering where Raspberry Pi prices have gone in recent years.
Given that typical enterprise integrations are missing, such as IDP, SSO, plus transparency regarding the encryption protocols used, my opinion is that the product is primarily aimed at the consumer and possibly small business segment.
It has a solid metal construction with nice finishes that give the impression of a premium product. Even though there are a few points listed in the Cons section, most of them are improvements that could be made, not necessarily drawbacks related to how the product works. So, from my side I’d give it a score of 4.5 out of 5, being pleasantly surprised by both the product and its operation and stability.