
Why would I need automatic emptying if I can do it manually? Precisely so you don’t have to deal with it anymore. But wait, Google deletes files older than 30 days anyway. Yes, but within those 30 days you might fill up your free space and still end up deleting things manually.
For example, you do a daily backup to Google Drive. Full, not differential. Meaning all files, not just the ones changed since the last backup. As an archive, and you’ve set the backup app to keep the last 3 archives. Every time a backup is made, the oldest archive is deleted. On my PC I have a daily archive of over 1 GB. It goes to Google Drive and to Onedrive. Google, unlike Microsoft, also counts the trash towards used space. We do a daily backup of the site to Google Drive and keep the last 3 archives. Right now we have an archive under 1.900 MB, but over time it will keep growing.
Of course, emptying is emptying, meaning you also lose any deleted files that you might, perhaps, want to recover. That’s why, taking into account how large the files that end up in the trash are and roughly how often, I decide when (how often) the automatic emptying of the Google Drive trash will happen.
The idea is simple: I’ll write a single line of code (yes, it involves programming, but just one line of code) and I’ll define a trigger that will run that line of code by itself whenever I want.
The code used to empty the Google Drive trash
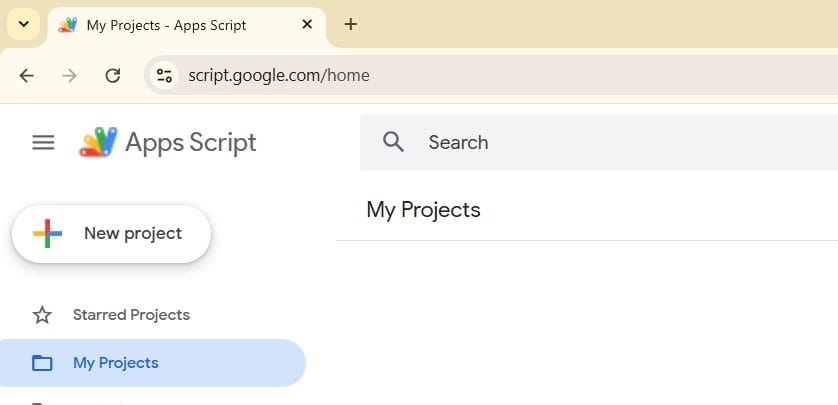
For this we go to script.google.com/home and sign in with our Google account (if we’re not already signed in), then from the menu on the left we choose New Project.
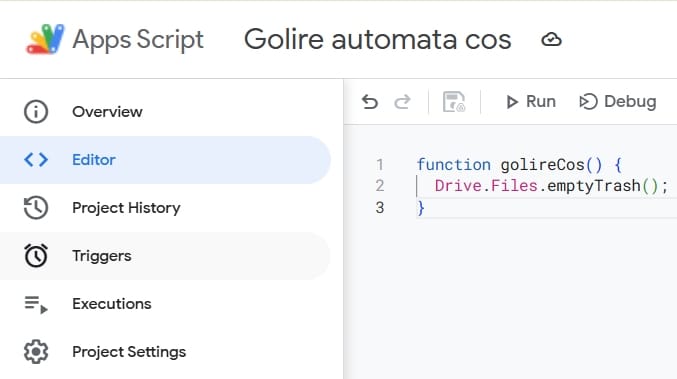
Click where it says Untitled project and change its name to Golire automata cos
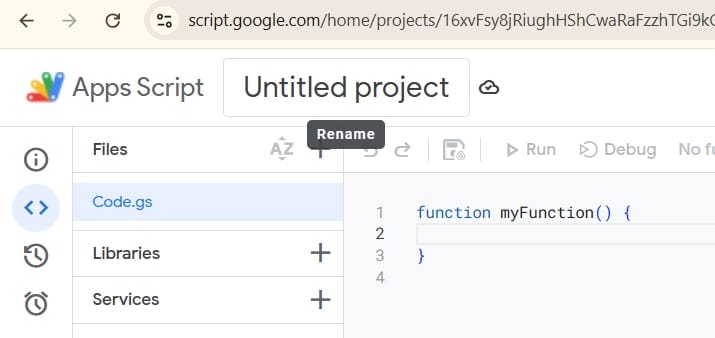
In Code.gs, instead of the myFunction() function, we’ll write the following code:
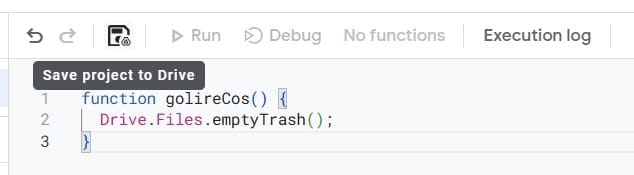
1 2 3 | function golireCos() { Drive.Files.emptyTrash(); } |
and save the change
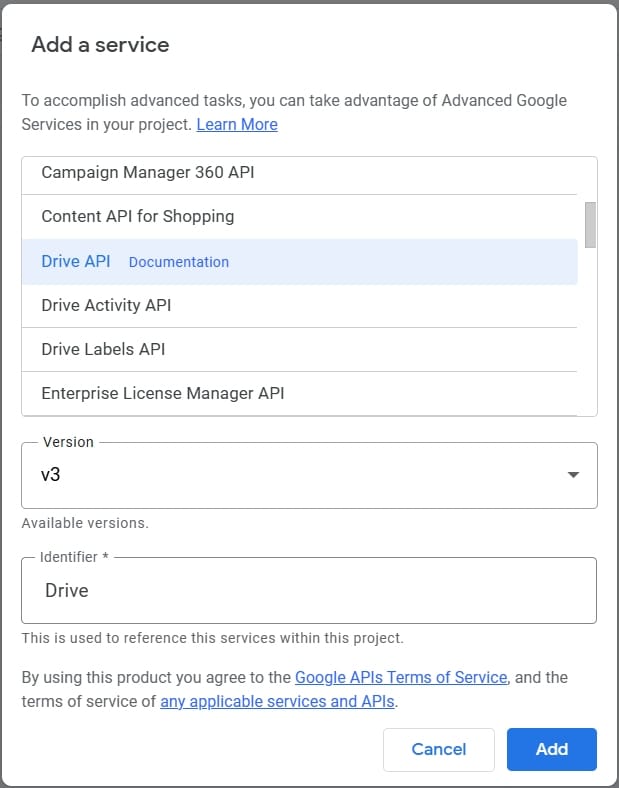
Next, click the + sign next to the Services menu on the left, choose Drive API from the list, under Version pick the highest version number available, and click the Add button.
The next step is to run the code by clicking the Run button at the top.
Warning! Running the code will do exactly what we want, namely empty the trash!!!
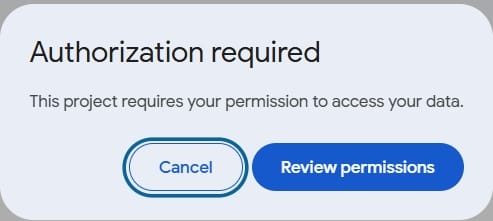
We’ll be asked to authorize the execution. Click the Review permissions button in the window that appears
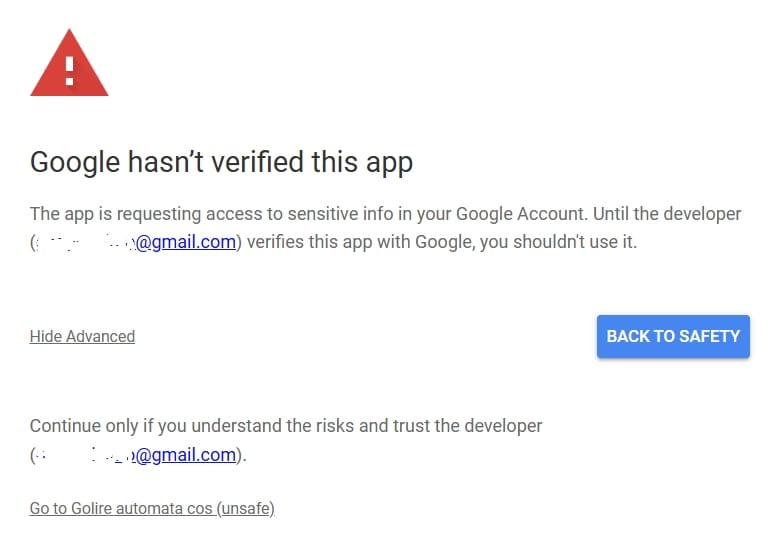
Select the desired account (you must explicitly choose the account, even if you only have one account signed in and it’s the account you’re currently using for the project). After choosing the account, Google will notify us that it hasn’t verified our app and we’ll click the Advanced link, then Go to Golire automata cos (unsafe).
Google then tells us that the app will have access to Google Drive and we’ll click Allow. Now the project has received permission and will run. After it runs, in the bottom half of the screen (Execution log) everything should look fine:
6:09:41 PM	Notice	Execution started
6:09:41 PM	Notice	Execution completed
Automating the emptying of the Google Drive trash
At this point we have the code authorized and verified that it does what it should. But we don’t have automation yet. Our goal is for it to run repeatedly, at a certain frequency. Maybe even set the time of day when it should run. For that we’ll need a trigger that quietly sits there and, when the time comes, starts my code.
Click Triggers on the left, then Add Trigger in the bottom-right
Set the options as you wish, then click Save.

Under Select type of time based trigger choose what type of time-based trigger you want. Depending on this choice, the next parameter will have different values in the list.
Let’s assume we want the trash emptied every Sunday. We’ll choose Week timer and Every Sunday. If we want it daily, we first choose Day timer and then we can choose the time interval.
Here is a script that deletes only certain files from Trash, not all of them.
1 2 3 4 5 6 7 8 9 10 | function EmptyBackupDell() { var fisiere = DriveApp.getTrashedFiles(); while (fisiere.hasNext()) { var fisier = fisiere.next(); if (fisier.getName().startsWith('Backup GDrive') && fisier.getName().endsWith('(Full).zip')) { Drive.Files.remove(fisier.getId()); } } } |
With that, we’ve finished our little automatic cleaning system. All that’s left is to delete something before the time set for the trigger, then do one last check to see if everything worked as it should.
Happy Coding!
Source: Freepik.com